Today I'll cover how to sew sections together. Here are the 3 sections of this block ready to sew together. Notice that the inside edges of the two top triangle sections to be joined are trimmed, but not the bottom edges. The bottom edge won't be trimmed until the two sections are joined and ready to be sewed to the bottom base section.
This picture shows the seam edges on the back of each section pointing in opposite directions, which will allow the new seam of the sections to nest together. I've started to pin the sections together, taking advantage of the little ditch at the seam.
Here you can see the pins are piercing the fabric just to the left of the stitched seam.
On the other section, the pins are piercing just to the right of the seam. This placement of the pins ensures that the pins are exactly in the ditch and will help join the stripes at exactly the right point. The pins locating the exact joining points are standing up, and will be removed after I've placed more pins outside the stitching line. This will avoid distorting the stitching line.
These are the pins joining the stitching line. Now that I've pinned outside the stitching line, these are ready to be removed.
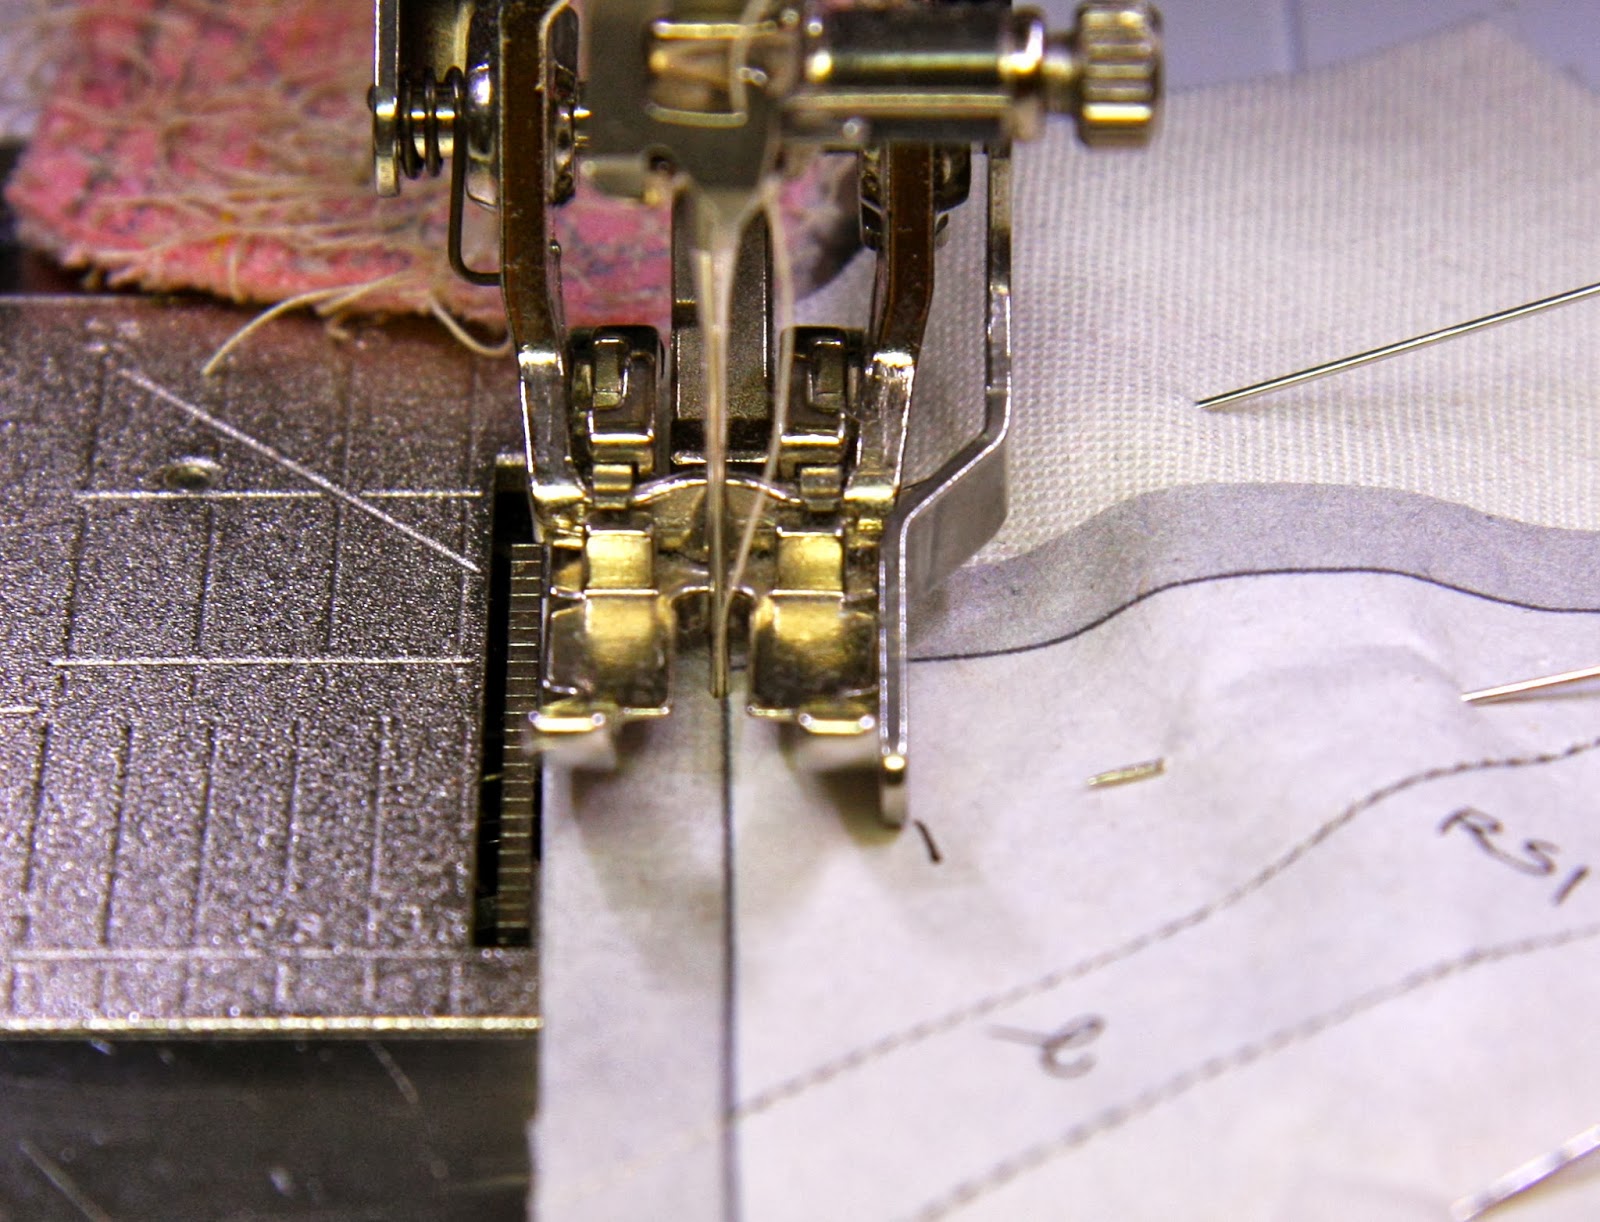
When I join sections together, I do not stitch exactly on the printed line. I stitch just to the inside, resulting in an ever so slightly smaller seam allowance to account for the bulk of the joined sections.
I'm happy with how the stripes meet in the seam. I pressed the seam open on the back. Now it's time to join the top triangle sections to the bottom base section.
I trimmed the bottom of the triangle section, ensuring the cut was perpendicular to the middle seam. I pinned the two sections together keeping the cut edges exactly even and placing the pins away from the sewing line to avoid distortion. Again, I stitched just inside the printed line.
I kept the points of the white triangles in the base section, but I'm not so happy with the point my index finger is pointing at. I ripped out the seam (very carefully!!!) just to about a quarter of an inch to the left of this point and repinned and resewed. It came out better, but still not perfect. In other words, it came out good enough!
Time to trim the entire triangle using the Dear Jane Triangle by Brenda Papadakis (ezQuilting at www.simplicity.com). I take a lot of time lining up the triangles and blocks. So far in making this quilt, the squares and triangles don't ever line up exactly, so there are compromises to be made. Today, it looks pretty darn good. I'm especially pleased that all the seams are in the right places and are very straight with no wonkiness. I use a rotating mat, such a handy tool when you have to cut all 4 sides of something.
Here are the two Tennessee Valley triangles. See the slight wonkiness of the very bottom seam in the black triangle? But as is noted on the Dear Jane Triangle, "Finished is better than perfect!" (And this little saying is trademarked!)
The finished blocks are tucked away in their own baggy with their pattern inside for future Dear Jane quilts!
Finally, I get to put a little sticker on my design patterns to indicate that this block is finished. Below are the patterns for the white and black quilt, respectively. The pinned squares on the bottom left are the colors for the triangles.
I've finished all the blocks and triangles for December, a total of 47 (but really 94, since I'm making 2 quilts). Now on to January!